Scanning
Family Heritage Photos specializes in high quality custom scanning to digitize a range of photographic products. We offer a high-resolution scanning service which may range from 600 to 12000 PPI depending on the size of the photo. The professional file created allows the studio to do basic enhancements, some dust/scratch removal and prepare for any restoration work that may be required. Once done, a high-resolution file in jpeg format is created to allow viewing on computers, plus quality printing in photo books and wall prints, another service the studio provides.
The price is only $5.50 for each custom scan.
Glass Autochrome
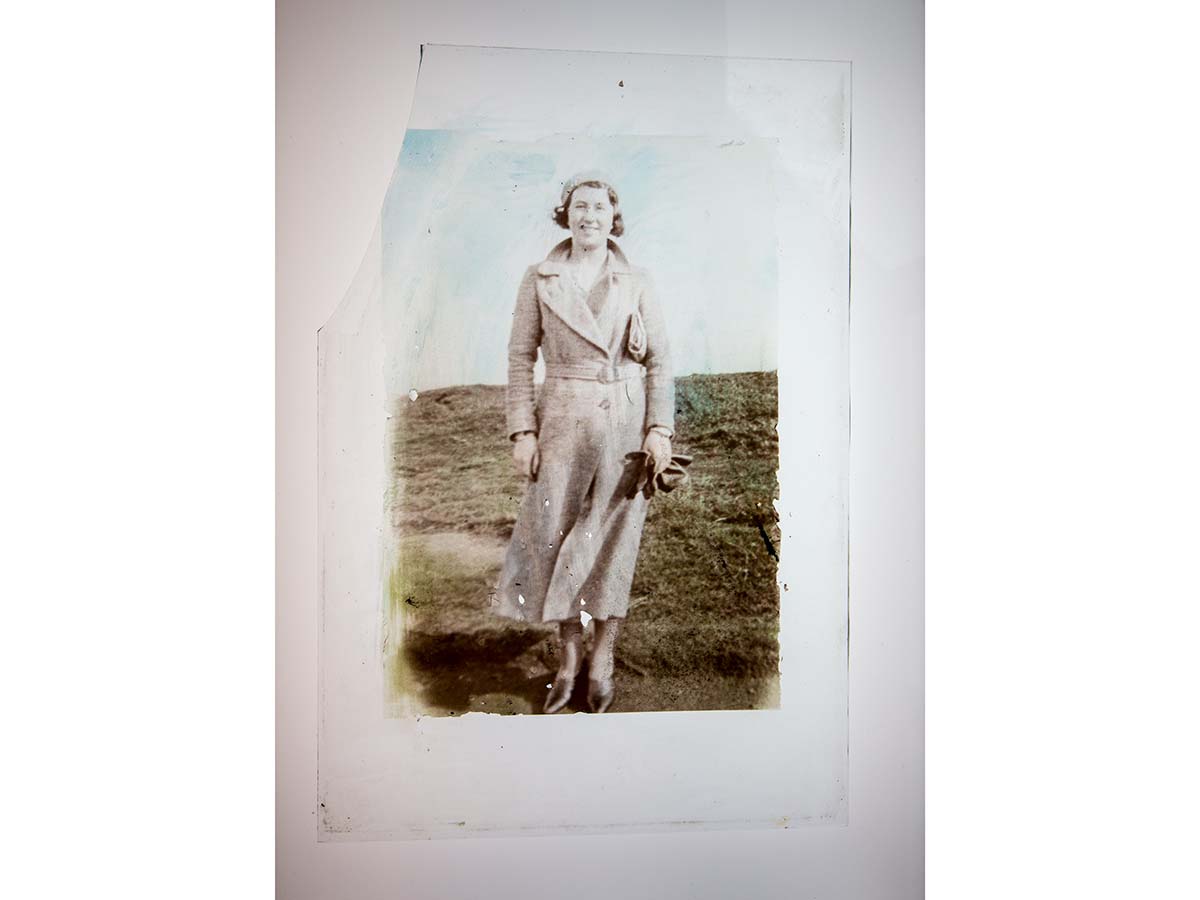
An Autochrome glass plate is a rare find. When handling these glass plates, it is important to wear white cotton gloves to prevent fingerprints staining the glass or emulsion. You are looking at a colour photographic glass plate taken in Ireland in 1931. The first colour photographic glass plate system known as Autochrome was patented in 1902 by the brothers Auguste & Louis Lumiere in France, it was commercially available from 1907 – 1932. The photo is of course part of the glass, so do not attempt to peel off the emulsion and especially do not try and clean the glass. Send to us for scanning, after scanning we restore the original, and convert to a professional print onto photographic paper. View our Restoration page to see the result.
Glass Plate
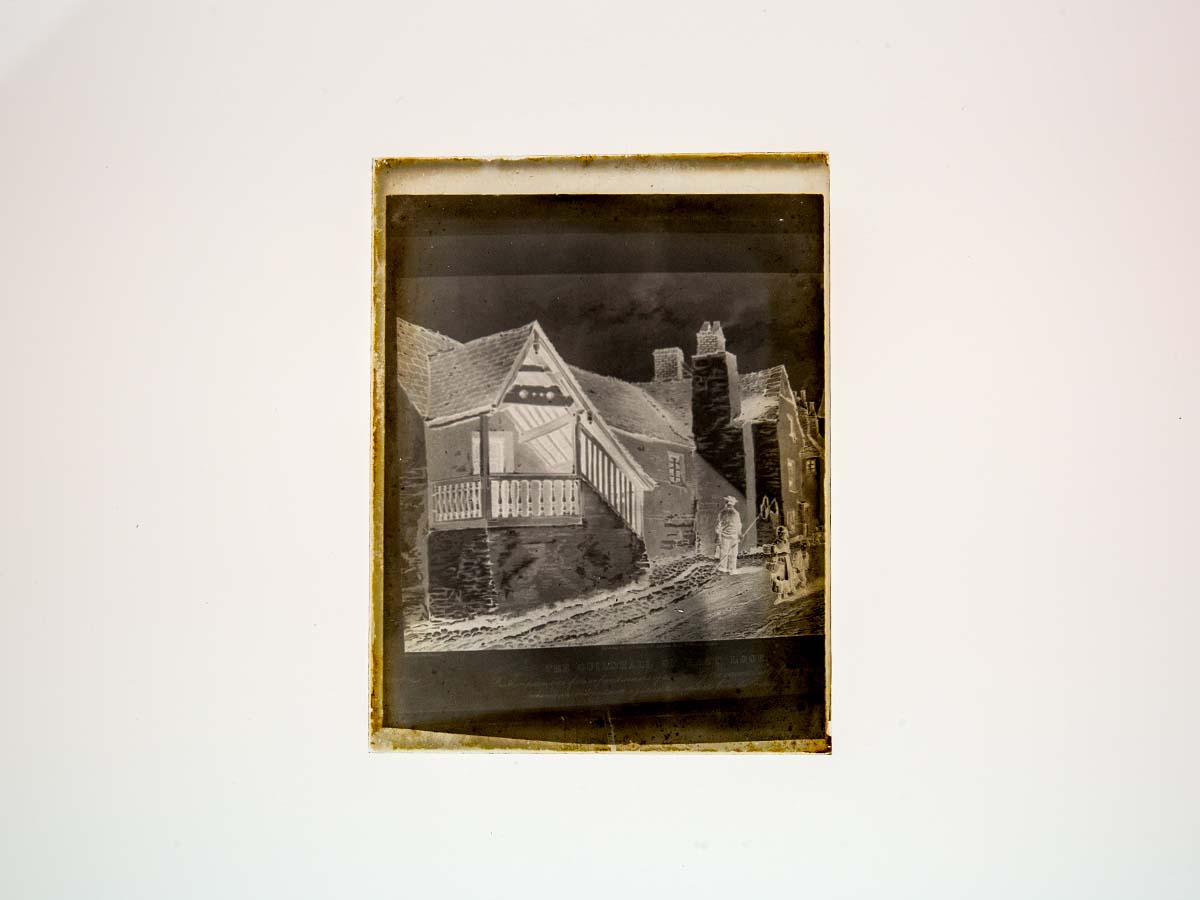
You may be surprised to find a glass plate in one of those boxes stored away in the attic, basement, or garage full of family memories. The glass plate may also have some historical significance. The different sized dry glass plates in use between 1880 and 1920 are Quarter-plate 3¼ × 4¼ in or 83mm × 108mm, Half-plate 4¾ × 6½ in or 120mm × 165mm, Full-plate 6½ × 8½ in. or 216mm ×165mm. Their thickness made them very resilient to damage, and if you are fortunate, apart from a few scratches they may be in excellent condition. A word of caution, DO NOT try and clean the glass plates as you will damage the emulsion. Send them to us for scanning where we will convert them to a positive image and save as an HR file for viewing on a computer, or for printing.
Vintage Prints
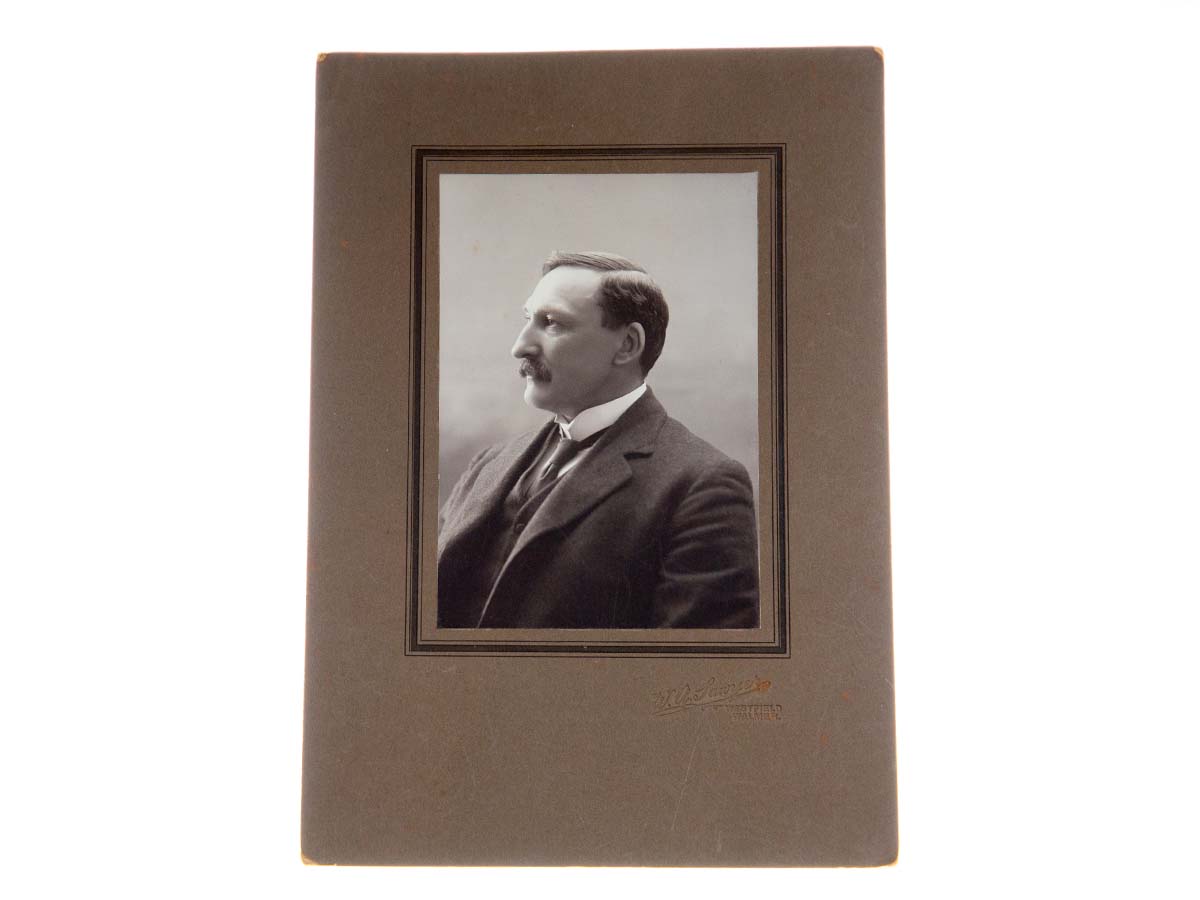
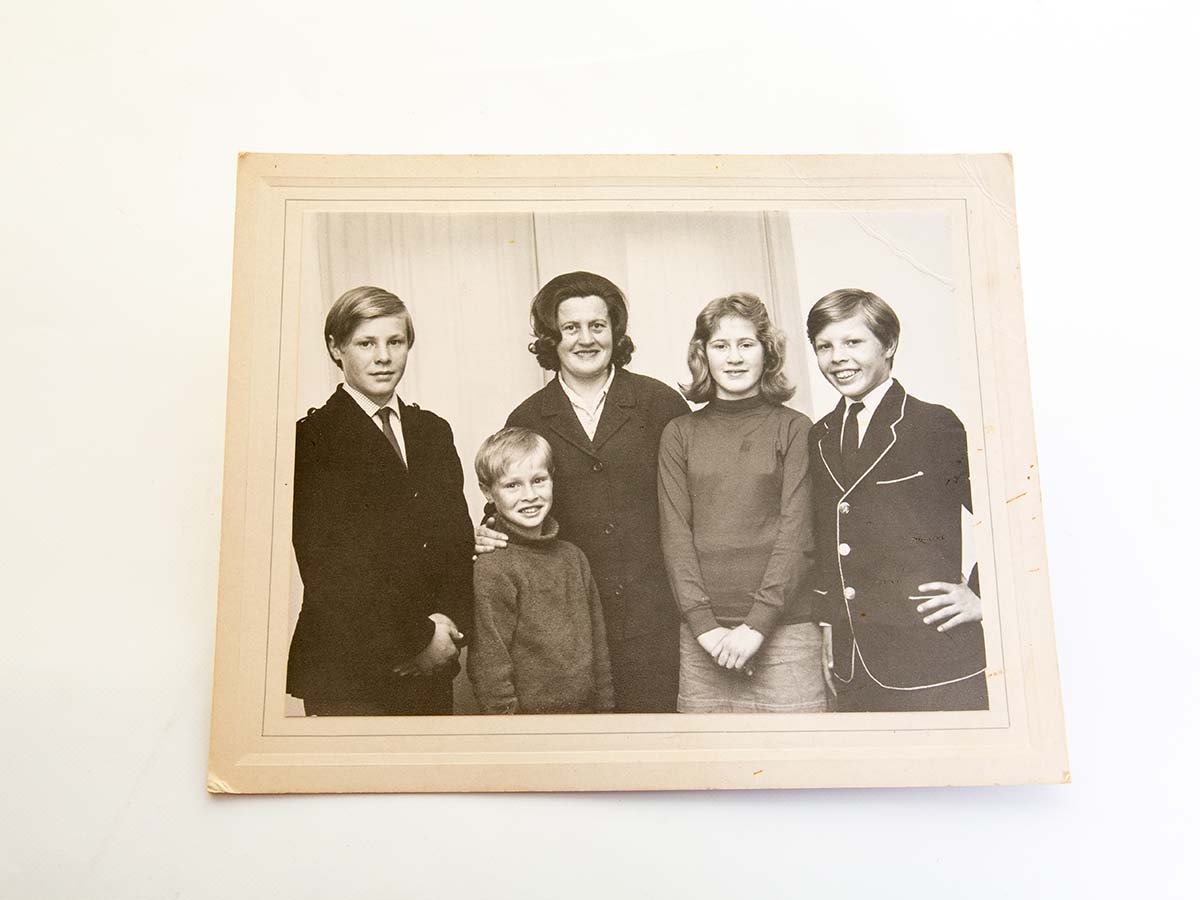
Vintage photos vary dramatically in size and presentation. Ever wondered why the old studio portraits look so posed, and without smiles? The film speed was so slow, they required long exposures, if you moved your body or smiled during the exposure the portrait would be blurred. The date of a photo can often be determined by the style of clothes worn. Most prints were attached onto a stiff board with the name of the studio embossed on the bottom section. If the print is firmly fixed onto board, DO NOT try to remove the photo, it will easily crease or tear and make the job of restoration more expensive. Send to us for custom scanning and digitization. Please handle with white cotton gloves so you do not mark the photo with fingerprints or scratches.
Vintage Negatives
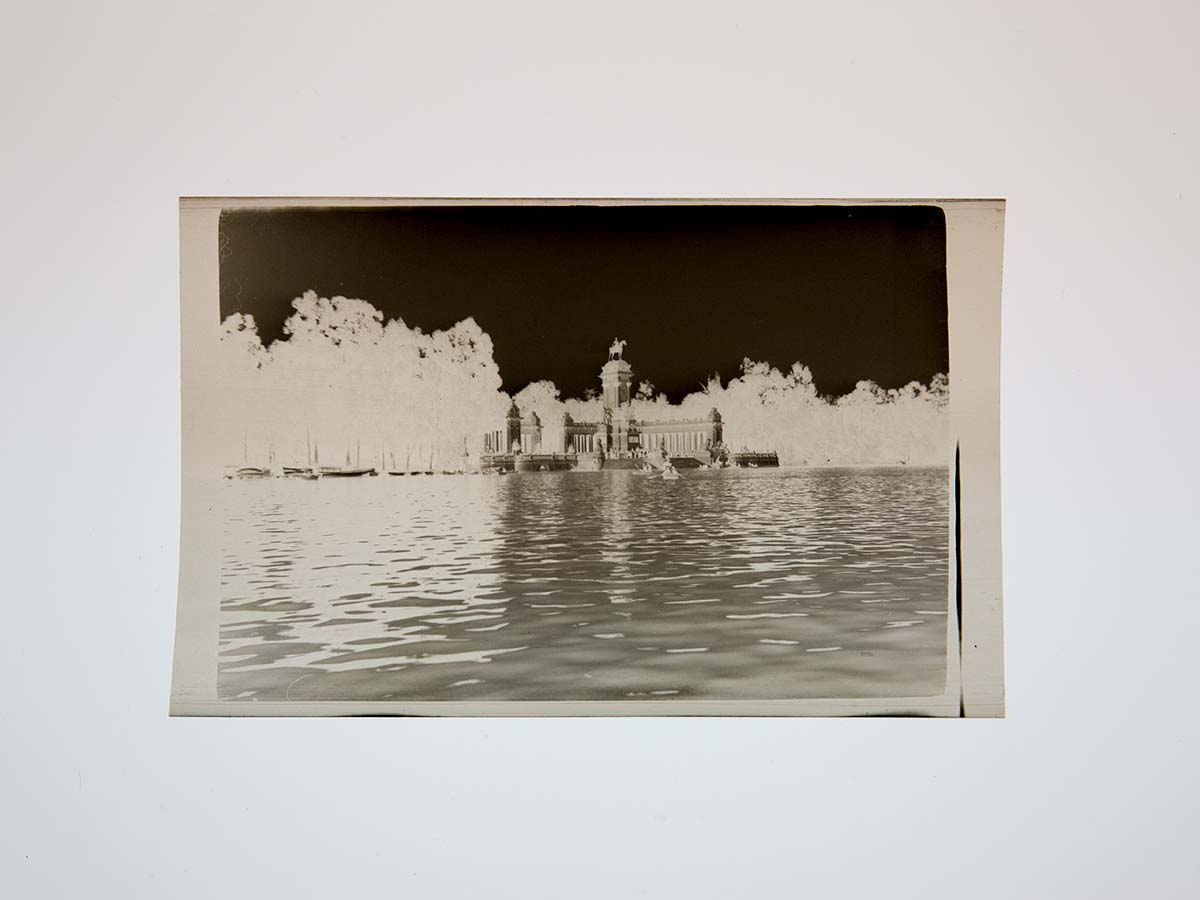
Initially marketed to consumers for snapshots the 120 film was introduced by Eastman Kodak in 1901 for the inexpensive Box Brownie cameras, it later became the preferred format for professionals. At 2 ¼ inches wide, the negatives are larger than 35mm, delivering higher resolution and sharpness. From 1900 through to 1995 there were many
sized negatives, the 116 format, 127 film is about 40mm x 40mm. In 1932, Kodak introduced 616 film which had a slightly slimmer spool to fit more compact cameras. A lot of families probably have the negatives in a thin cardboard wallet, common between 1900 and 1935. We specialise in custom scanning, so odd sizes are fine. Please handle with white cotton gloves so you do not mark the negative with fingerprints or scratches.
Vintage Photo Albums
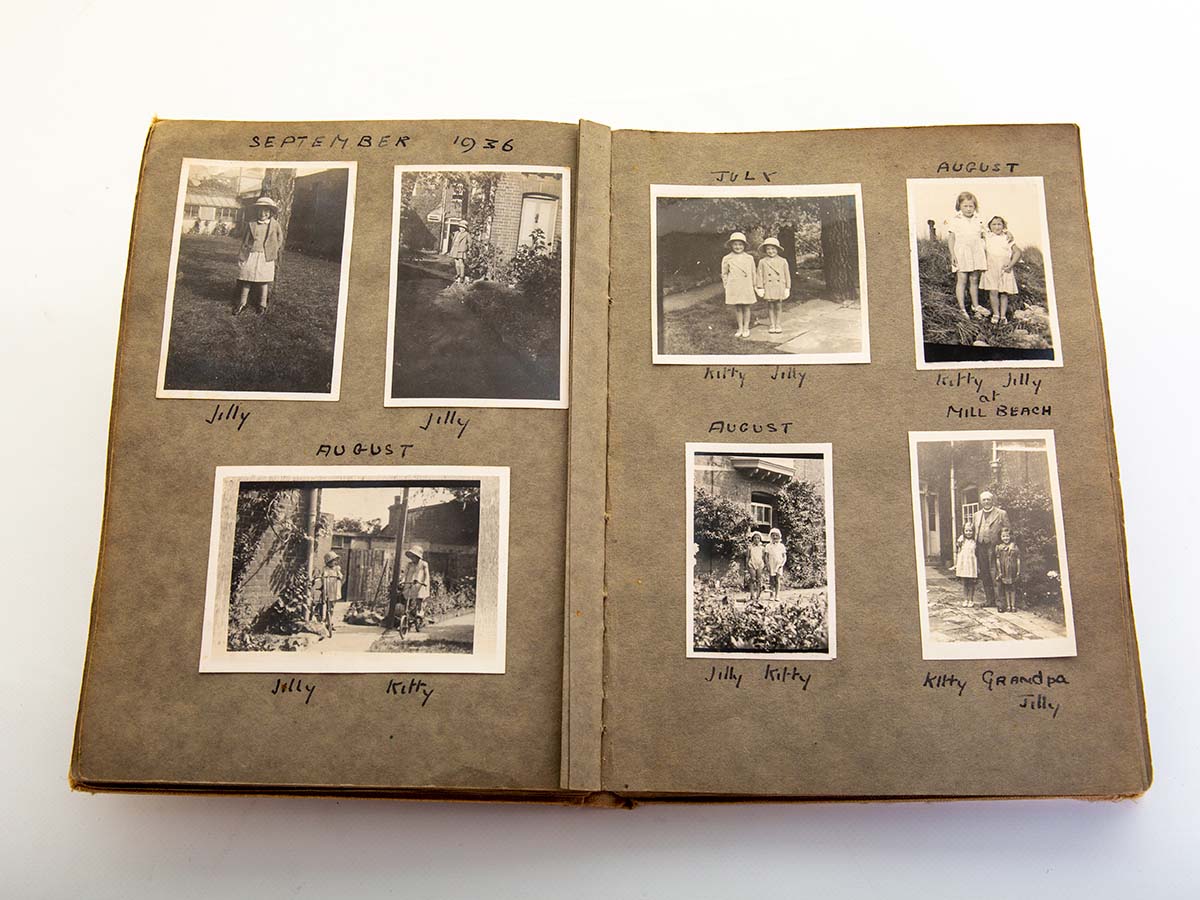
How long has it been since you dug out that old box of family photos? Our photo scanning services help you preserve family history for future generations. The older photo albums predominately have small sepia toned or Black and White prints that are glued to thin cardboard pages, quite often handwriting is next to the photo on the cardboard. Under No circumstances should you peel the photos from the album pages, this may tear the photo or create creases which then have to be digitally restored adding unnecessary costs. Because we custom scan, send us the complete album with instructions on which photos you want scanned, we zoom into the individual photo to scan. Later albums with colour photos are often placed under adhesive plastic overlays, again DO NOT lift the photos in case the emulsion peels off, send to us.
Black & White Prints
Most twentieth century black & white photographs are gelatine silver prints, in which the image consists of silver metal particles suspended in a gelatine layer coated onto a fibre paper, commercially produced for professional photographers from the 1930s through to the 1980s. Fortunately these prints are exceptional quality and will scan easily. Resin coated materials were introduced for black & white emulsions in 1972. The polyethylene paper was made impermeable to chemical solutions, processing and drying times substantially reduced, the prints were robust, but the surface easily scratched. The surface is often highly reflective causing challenges to scanning. Basic enhancements, density and exposure are corrected at the time of scanning. Please handle with white cotton gloves so you do not mark the print with fingerprints.
35mm Negatives
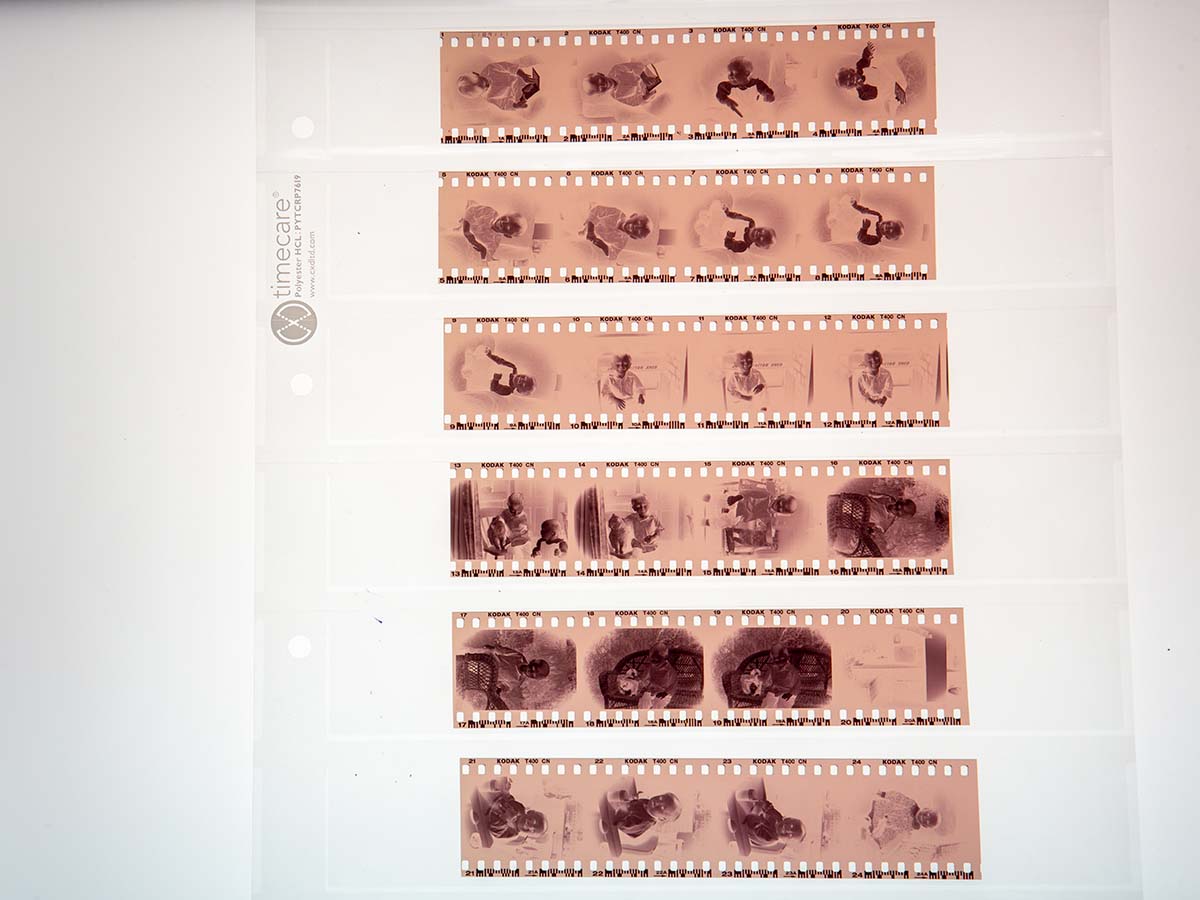
Cellulose film negatives have been available since 1900 and there have been numerous film formats including: 116, 616, 127, 828, 120 and 620 roll film, 126 and 110 Instamatic film, but by far the most ubiquitous from 1945 to 2005 is the 35mm negative. Our studio has the facility to scan all these formats, colour, black and white, and then convert to digital files. In many cases a higher quality image can be created instead of scanning the original print. Because we custom scan you do not have to have all the negatives scanned on the roll, just provide the negative number and we scan your selected individual frame to convert into a digital file. Please handle with white cotton gloves so you do not mark the print with fingerprints which are very visible when scanned.
35mm Slide Film
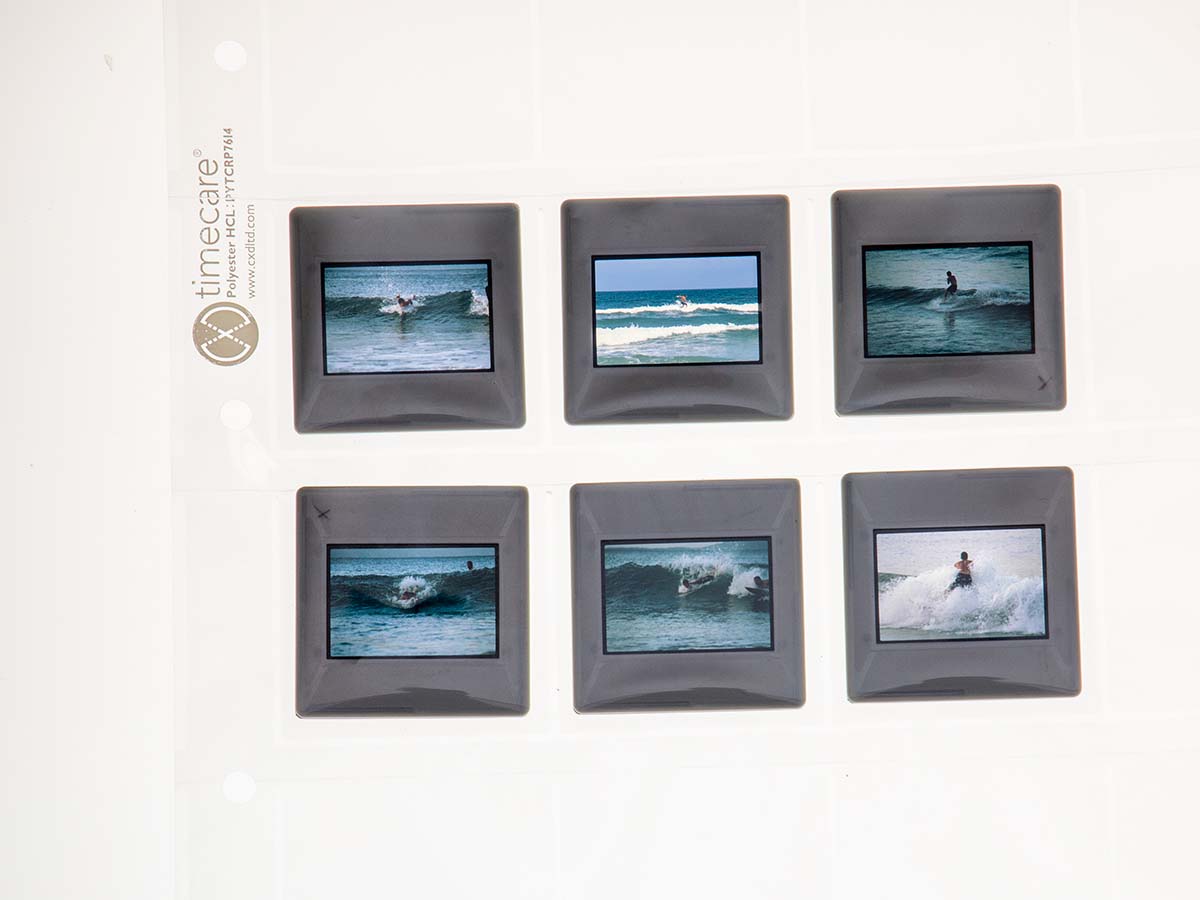
Kodachrome slides are rectangular pieces of colour reversal film encased in cardboard that were loaded into slide projectors and beamed onto walls. The film itself was introduced by the Eastman Kodak Company in 1935, and it helped popularize colour photography after World War II, for nearly 20 years, Kodachrome was the go to colour format for film.
Other transparency films, like Agfachrome and Fujichrome, and even Kodak’s own Ektachrome hit the market in the 1960s and offered a simpler, quicker and more accessible process. Up until its discontinuation in 2009, Kodachrome was the oldest selling brand of colour film in existence. Check the slides before sending to us, as mould on the slides cannot be scanned.
Color Print
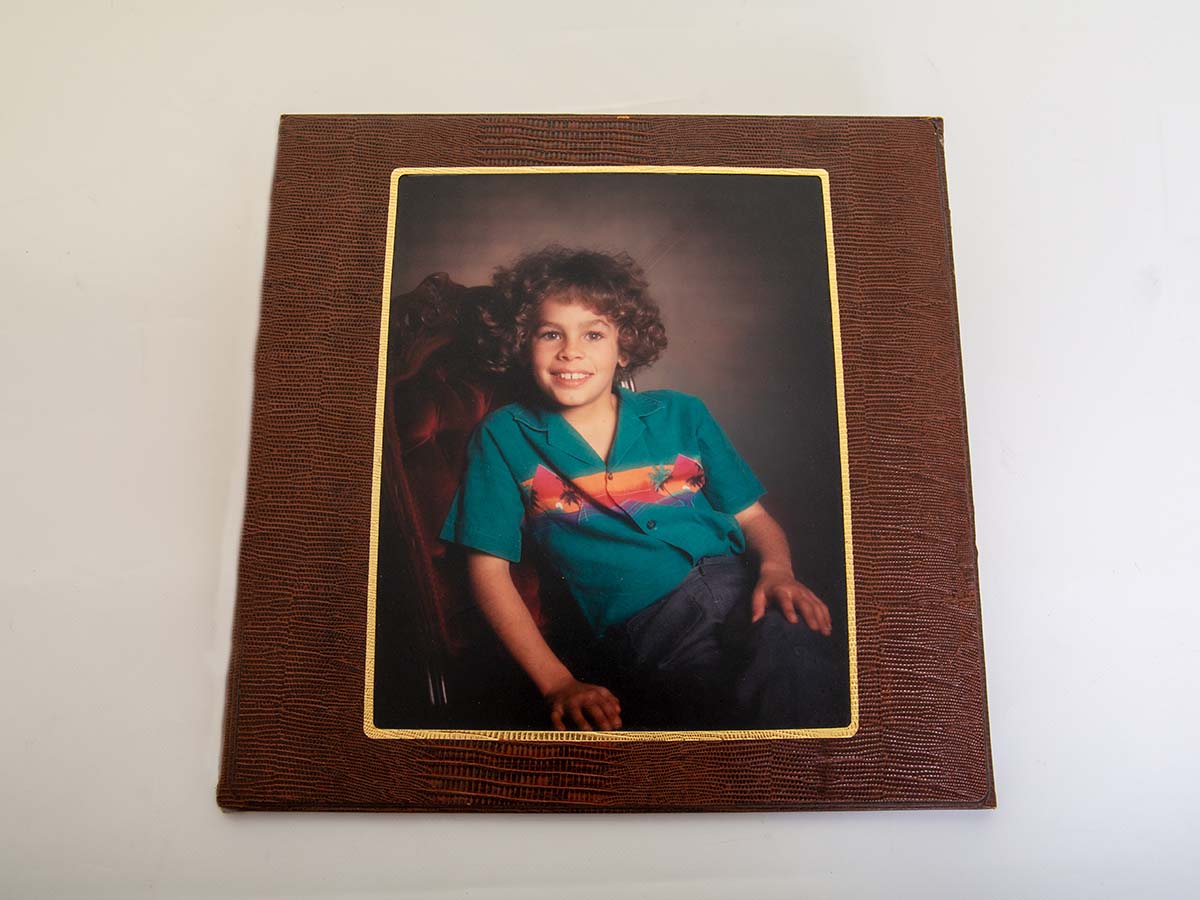
Scanning of colour prints can be done for a variety of reasons. The major reason is that during the early days of colour printing in the 1970s the print emulsions were very unstable and prone to fading. After scanning a print we can restore faded colour.
Another regular problem with colour prints from the 1980s and 90s is cracking of the emulsion surface. The culprit is usually if a photo is framed without a matt and the print has direct contact with the glass, heat then becomes the enemy.
Depending on the severity of damage, most prints can be scanned, digitised, restored and reprinted. Post or drop into the studio for a FREE evaluation.

